Monday, September 17, 2012

Mission Organization

Was it three weeks ago I told you about taking up the challenge to organize my home?  Well the challenge is intended to be done in 14 weeks...it might take me longer.  I can tell you all the excuses but I think what we should focus on is that even though I am a bit behind I am still soldiering on!  (Let's stay positive.)  So three weeks ago the challenge started with THE KITCHEN.  Before I go on to show you the progress I have made, check out the challenge over at A Bowl Full of Lemons.

abfolbutton


I feel like I have taken A LOT of pictures so bare with me. :-)  And first of all I would like to thank my 'helpful' assistants and my husband who stayed out of the way.


Before:

 After:


Before:
 After:
Before:
 After:  And just think how much room I will have when I don't have sippy cups and bottles!  I am thinking the vases in the top left won't stay there, it just makes it look cluttered.
Before:
 After:  Purchased a dish rack for lids, thank you Pinterest.
Before:
 After:
 Before:
 After:  The dividers I purchased at the Dollar Tree, you will see some more of those.
 Before:
 After:
 Before:
 After: The drawers that have made the BIGGEST transformation in my mind.
 This is my 'Kid Drawer'.  Those little things that they don't get all the time:  Window Crayons, Tattoos, Chuck-E-Cheese tokens.  Oh and more of those Dollar Tree dividers.

Thanks for stopping by and letting me do a little bragging.  Next challenge is THE GARAGE.

Saturday, September 1, 2012

The Challenge

Home Organization 101!  Anyone else want to take on the challenge over at A Bowl Full of Lemons as we sort out, clean up and organize our homes one space and one week at a time?  Let's see if I can keep up as the busy school year starts and young ones still running around.  
Check it out of yourself:

abfolbutton

This week the challenge is THE KITCHEN!  By the end of the week I hope to have before and after pictures, so check back later.


Thursday, May 24, 2012

Rhubarb Cake

I was gifted a large bag of rhubarb, I was excited the first bag of the season!  I chopped and froze several cups of rhubarb but wanted to use some right away AND wanted a new recipe.  When I mentioned to my mom wanting to make something using the rhubarb she recalled my aunt's recipe for rhubarb cake....I started digging into my recipe box and I found the recipe she was talking about!  I have no idea where the original recipe came from so if it's yours way to go because it is yummy and super EASY!  We actually ate some for breakfast.

Rhubarb Cake
Roughly 2-3 cups of chopped rhubarb, enough to layer the bottom of a 9x13
1 boxed white cake mix
1 stick butter, melted
1 cup hot water

Heat oven to 350 degrees.  I buttered my 9x13 pan and layered the chopped rhubarb on the bottom.  Sprinkle the white cake mix over the top of the rhubarb.

 (this is a pic from underneath)
Drizzle melted butter then water over the top of rhubarb and cake mix.  


Bake at 350 degrees for 45-50 minutes.  Check the center of the cake by inserting a toothpick until it comes out clean.
* Next time I will stir in those little peaks of dry cake mix that didn't get hit with the melted butter and water, they left a bit of dry cake mix after it was baked.

Unfortunately I didn't get a picture before we dug in.

Tuesday, March 20, 2012

Sensory Bins

Going through our pics I found some sensory bins that I have put out for the boys.
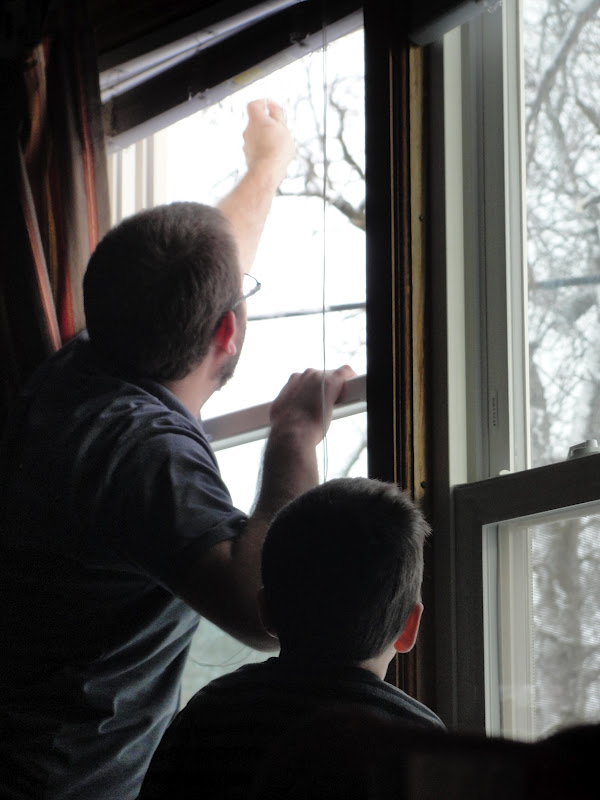
Dad got involved in this one, pulling icicles off our roof line.


Colored rice, toy trucks, containers, scoops.

Corn kernels, plastic eggs.  Not sure what the two have to do with each other but we had fun none the less.  The eggs did turn into some nice shakers. :-)


Tuesday, February 28, 2012

On the Cheap

While searching Pinterest I always come across great and simple ideas to do with the boys during our days at home.  Some of them I have seen before and even done and completely forgotten about.  Yesterday Big Brother and I sat down and did some salt painting.  Find the post here.  Yes, it is a bit messy BUT it is cheap and fun way to make some art.

All you need:
cardstock or cardboard
glue (liquid NOT a glue stick)
food coloring
salt
a container (we used baby food jars, I will get to that in a minute)
box lid or cookie sheet

1) Put maybe a 1/4 to a 1/2 cup of salt in each jar, add a couple drops of food coloring and mix.
2) Let your kiddo doodle a design, write their name or practice letters and/or numbers onto the cardstock. 
3) Now let your kiddo sprinkle/pour/dump the colored salt onto their glue masterpiece.
4) Pour off the excess and set aside to dry.

What I did:
For the containers I used Little Brother's cleaned out baby food jars that I had been hoarding (see honey I do have a use for all these little jars :-).  Using a hammer and a small nail I hammered holes into the tops of the baby jar lids making them into 'salt shakers'.
Do you know how much a spent on this little activity...? NOT A PENNY because I already had everything on hand, love it!  Plus it gave Big Brother and me a new activity to do.

Monday, January 16, 2012

Winter Fun (Inside)

The weather outside has been chilly and though I wouldn't hesitate to take Big Brother out there Little Brother just can't keep warm like the rest of us movers and shakers so we have been inside a lot more than I would like to admit this winter.  Here are a couple pics of some indoor activities that me and the Little Guys have been doing.  There is also an awesome blog/facebook page with a few other SAHMs and their awesome activities/ideas to keep those little ones engaged and creating, Play At Home Mom!  Check them out.  And now check out what we've been up to:
 Materials: zip lock baggies, paint, painters tape.  A fun squishy bag.  I had all the materials on hand = FREE
 Materials: Paper and Do-Dots (or Bingo Dotters)  Do-Dots are only $1/each at Dollar Tree!  They were a stocking stuffer for Big Brother this Christmas.  It is probably one of the things that he plays with the most, go figure!
Homemade Light Table: clear tub, rope lights/Christmas lights.  We put a tub of water beads on top of the light table.  Again, I had all the materials on hand = FREE FUN


Big Brother made a mask and all on his own I had left my paper bag on the table and he got our his art box and started creating, it is so awesome to see the process and what he came up with.  = FREE FUN

Thursday, January 5, 2012

Christmas Gifts

I was unable to post this gift because I didn't want it to be spoiled but here is a homemade gift that we gave to Grandma's and Grandpa's:  Michel's had a sale of 40% off the clear glass ball ornaments that you can put items in so I picked up a set of 4 and then Noah and I went through the sticker isle and our stickers at home.  Levi and Noah both had two ornaments (two sets of grandparents).  We picked out stickers that related to events in the last year. 
Noah had:  preschool sticker, spiderman (costume for Halloween), dinosaur (we went see dinosaurs at The Field Museum in Chicago with one set of Grandparents),  a Zoo sticker for the other Grandparents, Lego block because he had a Lego themed birthday, etc.  You get the idea.
Levi had:  'It's a Boy' stickers, toy stickers, some stars, etc. 
I attached a green ribbon for the stop and strung a paper tag with '2011' and a printed wallet size pics of both of them, glued the pictures back to back and strung them on the ribbon as well.  I should mention that if I couldn't get the sticky off the back of the sticker I just covered it with colorful cardstock.  I added 'snow' confetti to the ornaments as well so everything wouldn't just sit at the bottom.  I also realize that I don't have a pic of the finish project, oh well at least I got them done.  And I really liked the way they turned out.